

Metal Gear Solid 3 Subsistence (PlayStation 2) Boss Guide
~by tankMage (November 2023)
About this Guide
MGS3 is one of my favorite games and it was a pleasure to write this guide, so thank you for using it. The tips below should work for both Metal Gear Solid 3: Subsistence and Snake Eater despite the fact that it is named for the former version of the game. While I attempt to describe the various methods players can use to defeat the bosses, this game has so many secrets and possibilities that it was impossible to cover everything. It is also important to consider the fact that I played on Normal Difficulty, so some techniques may not be viable on higher difficulty levels. Consequently, most of the techniques are based on my personal preference, though they should work for everyone. Once again, thanks for using my boss guide and enjoy this wonderful game!
Contents
Here are a few tips for the game in general. Some of these tips can be applied to boss battles as well.
Use the Mk22 or Knock Enemies Out
For the most part, it is best not to kill too many people on your first playthrough. This is mainly, because guards will react to dead bodies differently than someone who is merely unconscious. A boss fight late in the game is also affected by the amount of people Snake kills, so do not murder a lot of soldiers if you want the fight to be less troublesome. Finally, a lot of the special uniforms can only be obtained by draining the boss’s Stamina and using the Mk22 to neutralize regular enemies is a great way to practice for the bosses.
Camouflage, Camouflage, Camouflage!
Blending into the environment and remaining unseen is a great way to stay alive, even in boss battles. Snake can surprise enemies or just sneak past them if he is wearing the right uniform. Bosses can also lose track of Snake if he is well disguised, which can be extremely helpful.
Save Life Medicine for the Last Few Bosses
Life Medicine refills some of Snake’s Life meter as you may have guessed from the name, but it is very rare. There’s maybe eight to ten Life Meds in the entire game. The early bosses are not very strong, so save your Life Medicine for late game bosses like The Fury.
Stock up on Food
Snake’s belly will grumble and his hands tremble if his Stamina meter is empty. He’s also susceptible to tranquilizers and possibly other nasty tricks while in a weakened state. Additionally, he does not seem to move quickly when hungry, though this may be my imagination. Always keep some food on hand, since it’s bad news to run out of food in the middle of a battle.
Some creatures can be captured alive and eaten at Snake’s leisure or used as makeshift weapons if they happen to be venomous. Just use the Mk22 to put an animal to sleep and live capture it. Rations, Calorie Mates, and Noodles never go bad, which makes them highly valuable.
Use the AP Sensor and Thermal Goggles
Both standard foes and bosses can be tough to spot, but Snake has helpful tools for such situations. The AP Sensor will beep and vibrate as an enemy nears Snake and the Thermal Goggles can pick up anything that gives off heat. As an added bonus, the Thermal Goggles are also good for finding food as well as items. The AP Sensor is good for when Snake does not have a clear line of sight or is in a dark area.
Try to Save Cigar-Gas Spray and Handkerchief Ammo
Snake will find Handkerchiefs and Cigar-Gas Spray if he explores the Graniny Gorki Lab thoroughly. These seemingly silly weapons are actually extremely powerful and can be used to drain the Stamina of some tough bosses. Both the Handkerchief and Cig Spray can knock out regular opponents instantly. Sadly, ammo for these weapons is difficult to come by; use them judiciously. About thirty rounds of each weapon should be more than enough for the end of the game bosses.
Use the D-Pad to Sneak
Any sound will alert enemy troops, but Snake can move extra quietly if you press the D-Pad in the direction you wish to move. This should allow him to get close enough to grapple or hold up his target without being detected. The downside is he also moves very slowly while sneaking with the D-Pad.
Don’t be Afraid to Experiment
This game has tons of secrets. In fact, people are still discovering new things about MGS3 even though the it is nearly twenty years old. Try different things when exploring and fighting bosses, you never know what will happen.

Your first boss fight is an easy one thanks to Ocelot’s incompetence. Snake will find himself facing off against the young officer on the opposite side of a dusty crevasse. Ocelot uses a pair of six shooters and will have to reload after every twelve shots. He will take cover behind the huge rocks, popping out to fire at Snake. Sometimes (especially after getting hit) Ocelot will order his men to fire on Snake. Take cover behind a rock and/or get prone to avoid their gun fire.
Ocelot is fairly accurate. He also shoots faster when he is low on Life/Stamina, but he is open to attack when reloading.
I strongly recommend wearing camo that blends well in this area, because you may be able to take cover and fool Ocelot with it. Choco Chip works well in this area. You should also use the Mk22 to get the non-lethal victory, which rewards Snake with the Animals Uniform. Ocelot exposes himself to fire very often, so it should be easy to get a body shot or a head shot for extra damage. Take cover behind the big rocks and move if you hear Ocelot call for help, because his buddies will open fire on Snake.
Creative players may want to shoot the hornet nests on the branches above Ocelot to distract him, though I do not find it necessary. Watch out for venomous snakes in this area, they may bite Snake. If this happens use Serum to cure the poison right away. Killing the rabbits in this area will yield more Serum if you need it, though hunting during a boss battle is not the best of ideas for obvious reasons. Defeat Ocelot and Snake will end up in a dark cave. If you used the Mk22 to get a Stamina win, you will find the Animals Uniform on a lightly colored patch of the rock floor near Snake.
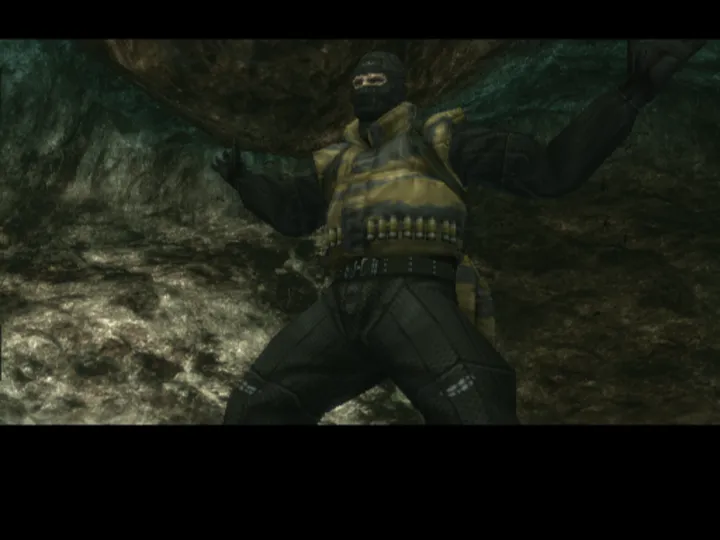
Snake should not have too much trouble taking down The Pain. This hornet covered wierdo stands in the center of an island in a gallery of the cave that is filled with water. The Pain can summon up a Tommy Gun, toss grenades, and cover himself in hornets to form a shield that protects him from bullets. He can also toss bottles of some kind of pheromone that attracts the hornets.
Just dive under water to evade The Pain’s attacks. Pop out of the water and shoot him in the head (which can be tricky because he wobbles his head around) with the Mk22, M37 Shotgun, or the AK. You will need to tranq this boss with the Mk22 if you want his special Hornet Stripe Uniform, which is worth the effort. It’s possible to clear The Pain’s hornet shield with a Smoke Grenade, so use it if you want to end the battle quickly.
Get The Pain Down to about 50% Life/Stamina and he will start spitting bullet bees…yes I’m serious that is what the game calls them. Anyway, these nasty bees will track Snake and wound him if they catch him. You will have to go into the Cure section of the Survival screen and use the Knife to dig the bees out, then treat the wound with Disinfectant as well as Styptic. Dive to avoid the bullet bees just as you can with all of this boss’s moves. Bullet bees have a tell-tail red color that makes them easy to spot.
The Pain is very easy to defeat overall, just dive and swim circles around his island. Don’t waste shots when his bee shield is up. Snake can hide from The Pain if you use the Water Camo, but the boss is very good at ferreting out the player, so do not rely on it as a strategy.
Drain The Pain’s Stamina to get his Hornet Stripes Uniform. The uniform will appear on the small island the boss stands on during the battle. Look for a stone ramp near the cave exit and follow to a thin ledge near The Pain’s island, the jump onto it to get the uniform.
Tip: Use a Grenade to kill the fish in the cave pond during this boss fight to get a quick snack if Snake is hungry.
Snake will see The End on the docks of the warehouse shortly after slaying The Pain. The Fear will roll The End onto the dock during a scene with Volgin and leave him on the dock. It is possible to simply kill The End using the SVD sniper rifle and bypass the actual boss fight with him later on. I do not recommend doing this if this is your first play through, because Snake will not be able to obtain the boss’s signature weapon and uniform if you kill him early.
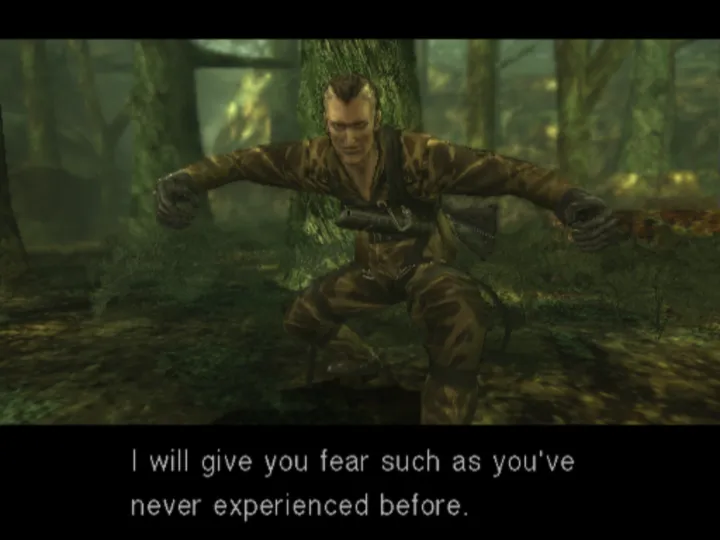
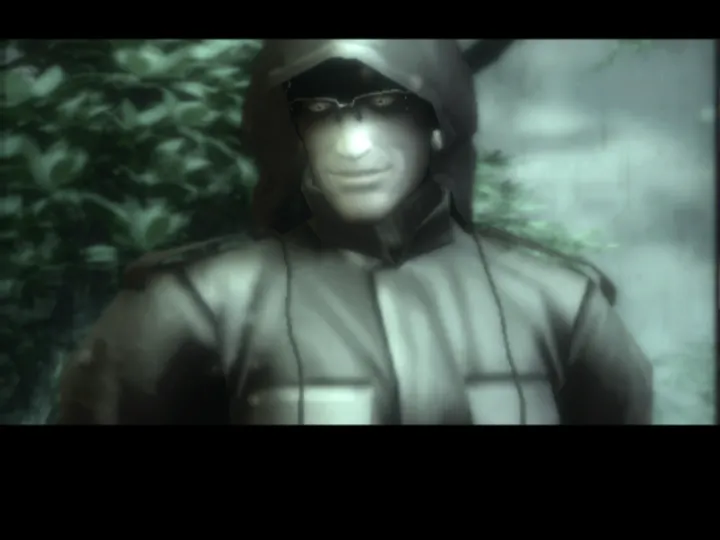
Snake will meet The Fear shortly after talking to Granin and leaving the outer wall around the lab. The Fear will shoot Snake in the leg with a poison crossbow during a cutscene, so be sure to cure the poison with the Serum and treat the leg wound with Disinfectant and Styptic after removing the bolt with the Knife.
The Fear is very difficult to see thanks to his camouflage, plus the area the duel takes place in is full of traps. Equip the Thermal Goggles in order to see the boss and his traps. As with The Pain, Snake will need to damage The Fear’s Stamina to get his uniform, which means you’re going to have to use Snake’s fists or the Mk22. This is not as easy as it may seem, because this boss loses Stamina rapidly and will eat food found in the area to replenish it.
The Fear will often leap from tree to tree or scamper along the ground really quickly. He will stop to fire volleys of bolts at Snake, usually three, but sometimes more. Sometimes the boss will throw a grenade that explodes almost as soon as it lands, so watch out. He often announces his attacks and running around is often enough to prevent him from hitting Snake as long as you disarm or avoid the traps in the area. Hiding behind trees is a great way to take cover from bolts, but it is useless against grenades.
This battle can end really fast if you watch the trees and blow him away with the M37 or SVD. In fact, he’s ridiculously easy as long as you keep Snake from catching a bolt or getting blasted by a grenade, because he tends to sit still a lot. The Fear is also exposed while eating.
Unfortunately, getting the Stamina kill is a different story and will take some creativity. The best way to do it is to wait until The Fear starts to get low on Stamina, then throw some rotten food under him. He will jump or climb down, eat the food, then get sick. This is also a good time to get an Mk22 shot in. You can place spoiled or poisonous food all over the place to increase the odds of The Fear eating it. Do not (ahem) fear if you do not have any poison food, because the frogs and mushrooms in this area are quite deadly. While poison will weaken this boss, I do not believe he can actually lose all of his Stamina, so you will have to shoot him once or twice with the Mk22 to finish him off.
You will find The fear’s Spider Uniform underneath the spot where he dies.
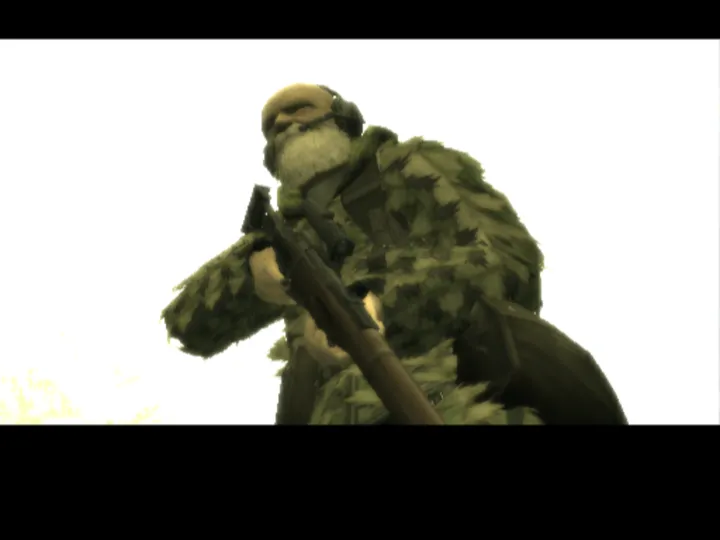
Snake’s confrontation with The End is a bit different from the other boss matches. Life is not a concern in this battle, because The End fires tranquilizer darts rather than bullets from his sniper rifle. In a rather unusual twist, The End will merely pick Snake up and cart him off to a cell in the Lab if he manages to knock Snake out. You need only backtrack to the forest to resume the battle.
While the End may not be deadly, he is a clever foe that will wear Snake down using his sniping skills. Remove tranq darts immediately using the Knife if The End shoots him, because the darts will reduce Snake’s Stamina. Grab food from the forest (which is plentiful) to keep Snake alert.
There are many ways to fight this boss, but it is important to remember that locating him is half the battle. Here are a few methods that can help Snake defeat The End.
-Listen for Snoring, if you hear it The End is close by.
-Wear good woodland camo like Leaf or Tigerstripe.
-Stay low and move from cover to cover to stay out of The End’s field of vision.
-The Directional Mic can detect sounds made by this boss from afar.
-Look for sunlight glinting off the scope on The End’s rifle.
-Learn where all of the sniper points are on the map.
-Use the Thermal Goggles to find the boss or his footprints.
The End will often take four or five shots at Snake before changing locations, which is where things get tricky, because there are three sections to this battlefield. The End may remain in the area when he moves or may switch areas. It’s possible to spot the boss as he runs and follow him, but he is extremely fast for an old geezer. Moving carefully and methodically, ruling out locations is the best way to go, because the boss will move once Snake’s cover is blown. If you happen to be close to this boss, watch out for the Stun Grenade he tosses before fleeing.
You can defeat The End very easily with the M37 by running up to him and blowing him away. Snake can hit the boss about three times before his immunity kicks in, which is indicated by The End flying backwards. If you are quick and don’t mind the flash from his Stun Grenade, you can actually pursue and pump shotgun shells into him as he runs away. The AK-47 and M63 are also good for chasing The End down. Watch out in areas with Sunlight, because The End will heal if he basks in the Sun. Another Trick you can use on this boss is to place Claymores or TNT at the sniping points.
The End has two special gifts for Snake: The Moss Uniform and the Mosin Negant. To get the Moss Uniform you will have to sneak up on this boss and hold him up. It is best to use camo that is gives you about 80% coverage and slowly crawl up to The End while he is sleeping. The End will not drop his uniform right away, but you need only hold him up once if you move the gun away from his head and aim it back at him. About three tries should earn Snake the Moss Uniform. Use the D-Pad to sneak as quietly as possible.
If you really want the Mosin Negant, you can get it with a Stamina kill, which is not terribly difficult, but not as easy as using the M37. Of course, you will need to use the good ole’ MK22 to get a Stamina kill. You will need to be a good shot and it helps to keep the pressure on The End by chasing him as he moves, because he will heal himself if you allow him to get away.
Finally, Snake can automatically win this battle by simply saving the game and waiting about eight days in real time. A faster way to achieve this is to set the PS2’s internal clock forward eight days.
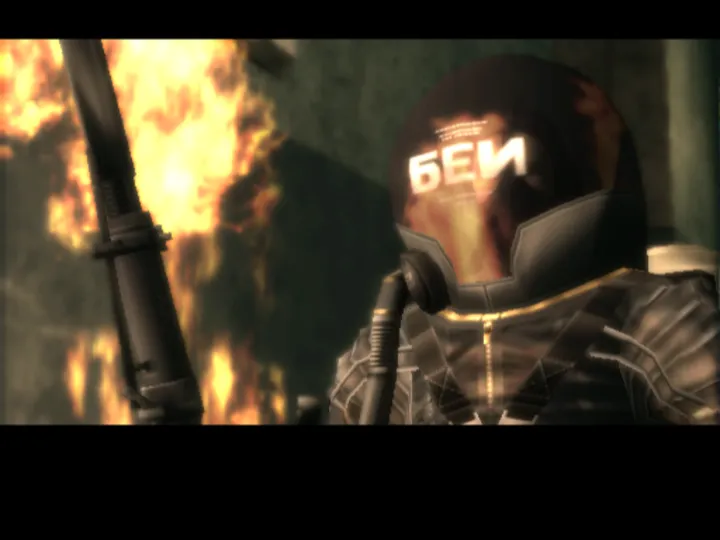
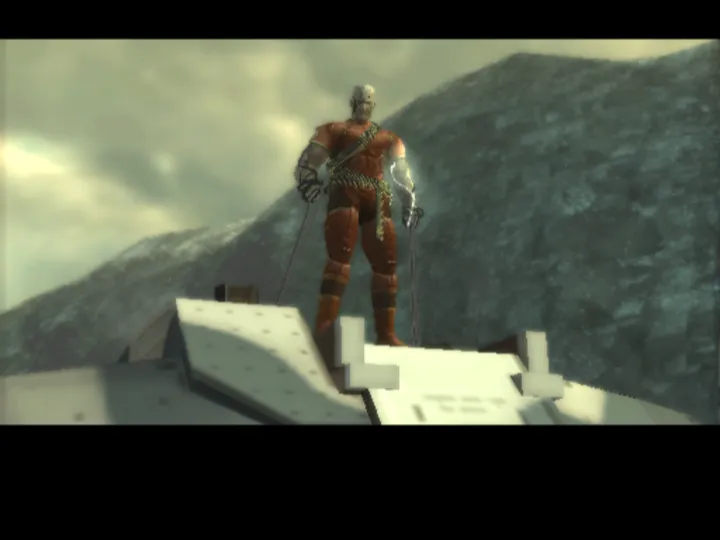
The Fury is one of the few bosses in this game that is a worthy foe by any means. He only has two attacks: a flame thrower and a rocket pack that propels him very quickly while leaving torrents of flame in his wake. As you can probably imagine, burns are a big problem in this fight and Snake will need plenty of Ointment. Be sure to roll to put out the flames if Snake catches fire and try not to stand in any flames.
The Fury tends to lumber around like a turtle at first, but do not let him fool you, he can move very quickly and speeds up as he takes damage. I recommend using the M1911 or another quick firing gun in this fight. Use the terrain to hide and surprise the boss. Splitter Camo works very well here, but you cannot count on The Fury not seeing Snake, especially as he lights fires.
The actual battle is simple to fight. Just run from pillar to pillar to stay away from the fire. Keep an eye open for the boss and fire about three rounds at him, then move. The Thermal Goggles are useful for locating The Fury. Do not get greedy by trying to hit him more than three times, because he will engage his rockets to break contact with Snake and there’s nothing that can be done to stop him.
To get the Fire Uniform, use the Mosin (if you are really comfortable with Sniper Rifles) or the Mk22 to drain his Stamina.
On a side note, there’s a lot of food in the tunnel where Snake encounters The Fury, but it can be difficult to hunt while dodging jets of flame. Bring plenty of food or wear the Moss Uniform.
Snake will encounter The Sorrow just after escaping the sewers. Being a spirit, this boss is immune to all weapons, so do not even bother trying to fight him. All Snake has to do is walk up a stream haunted by the ghosts of everyone the player has killed throughout the course of the game. Touching a ghost will result in Snake losing some Life. The Sorrow will occasionally fire an energy bolt at Snake.
Luckily, the spirits move slowly and Snake can easily dodge the boss’s bolt by sidestepping it. The Sorrow puts his hands together and the space around him warps as he fires the beam, so it is easy to see it coming. Snake will be knocked to the ground if the bolt manages to hit him, but that’s the extent of its effect.
Ultimately, this “fight” is about endurance and perseverance. The walk up the stream takes a while and it can be filled with ghosts depending on how many people Snake has killed during his mission. Players that use evasion and non-lethal weapons will have an easy time of it. Even slain members of the Cobra Unit appear as Snake travels upstream, which is also an indicator of how far he has to go before the encounter ends.
Another interesting aspect of this encounter is that it is impossible to be defeated as long as the player knows what to do. If Snake loses all of his health, simply use the L2 Button to select the Revival Pill and press Circle to use it. However, it is better to walk all the way up the stream and touch The Sorrow’s body. Doing so will result in Snake earning the Spirit Uniform after he awakens. Snake will die once he touches The Sorrow’s body, but using the Revival Pill (L2) will bring him back and end the encounter. The Spirit Camo will be in Snake’s inventory after he gets his equipment back from Eva.
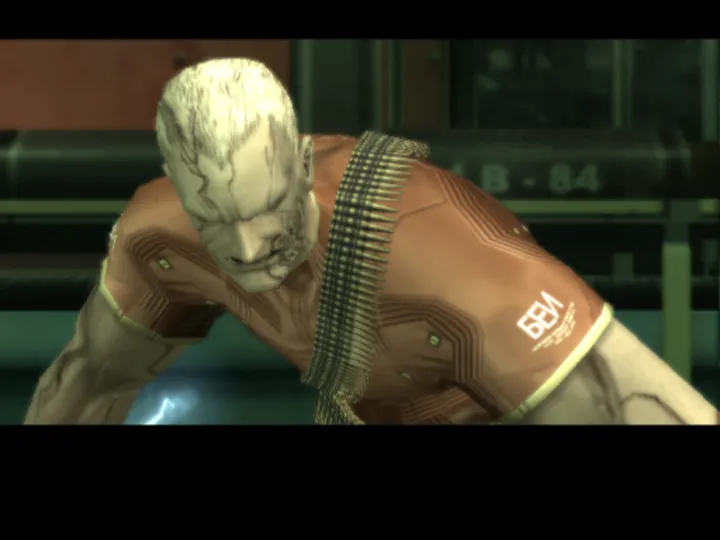
Volgin is a truly deadly foe, but he has a few weaknesses that Snake can take advantage of to tip the scales in his favor. First off, Volgin’s electric shock attack will make ammo in equipped weapons explode, so make sure Snake’s weapon is only in his hand when his is ready to shoot if you plan on using a gun. That said, the best way to defeat Volgin is with the Cigar-Gas Spray or Handkerchief. Both weapons drain Volgin’s stamina and will not explode if Snake gets shocked. Even better, beating this boss by depleting his Stamina will award Snake with the Cold War Uniform.
Volgin will often produce a beam of energy that will track Snake and make the ammo in his gun explode if he is holding one. This move is easily foiled by unequipping Snake’s gun and running in a circular motion. Volgin also uses powerful barrages of punches and kicks that can break bones. As this boss takes damage, he will charge up with electricity and his attacks become even more lethal. He also fires bullets using his electrical charge, but it is easy to tell Volgin is going to shoot at Snake, because he raises his arm. Run in circular patterns to avoid Volgin’s attacks. If you have the Handkerchief and Cigar-Gas Spray, run up to the colonel and use the weapon on him just after he attacks. The spray works better than the hanky, because it has more range, just remember to tap the button to release it quickly.
Once Volgin hits 50% Life or Stamina, a scene will interrupt the fight. Afterwards, Volgin will change his moveset slightly. He will use his “machine gun” attack more often and spray bullets in every direction sometimes. Be sure to roll out of the way when he surrounds himself with a sphere of energy to avoid the bullet spray. Volgin’s electricity beams becomes stronger as well and he will be able to produce three beams at once. He can also charge the ground with an electricity beam that moves back and forth. Snake can just roll over the beam on the floor.
If you do not have the Cigar-Gas Spray or Handkerchief, you can still drain Volgin’s Stamina with the Mk22 or just use a regular gun on him. However, it is much more difficult to use a gun on this boss, because of his lightning attack and a shield that deflects frontal attacks. Snake will have to get behind Volgin and quickly shoot him, which can be tricky with the Mk22. On the other hand, the M37 Shotgun does a fair amount of damage and is easy to hip fire.
Keep in mind that Snake only has about five minutes to beat this boss, so it’s not smart to dilly dally. It is also not a good idea to get too close, because Volgin’s shock attacks can make Snake vomit, draining his Stamina. If you defeat Volgin using the Cigar/Handkerchief method to reduce his Stamina to zero, Volgin will drop the Cold War Uniform on the spot.
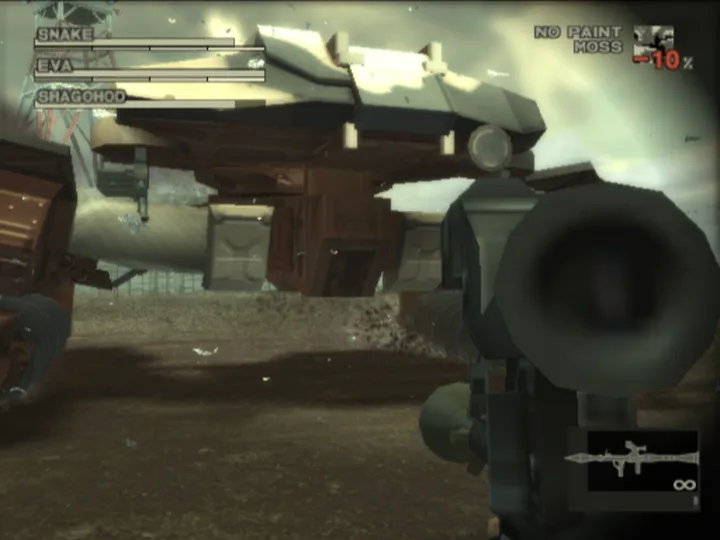
Snake and Eva must face off against the Shagohad after destroying the bridge. Eva will drive the motorcycle while Snake pummels the Shagohad with the RPG-7. First off, this behemoth will fire its machine guns and missiles at the duo as they drive around. Not much can be done about the machine guns, but there’s a very simple and effective tool that can render the missiles useless: Chaff Grenades. Throw a Chaff every few seconds (don’t worry, Snake has infinite ammo) and shoot the RPG-7 at the Shagohod’s drill-like treads.* Once the treads are damaged, the Shagohod will be unable to move for about fifteen seconds. Wait until Eva positions the bike behind the Shagohad and blast the back of it with another RPG. Be sure to hit the upper part of its backside (you will see damage from when the second half of the tank detached) or the RPG will not inflict any damage. Throw another Chaff and repeat the process until the Shagohad comes to a complete halt.
It is possible to skip the RPG’s loading animation by unequiping and re-equipping it rapidly. Zooming in with L1 also helps aim the weapon better. On a side note, I have read that it is possible to damage the Shagohad with RPGs during the chase and that killing its maintenance crew earlier in the game further weakens it, though I have not tested these tricks.
*A lot of guides imply that both treads need to be damaged with an RPG to halt the Shagohad, but I think one is enough. Pay attention to the tank and try hitting the second tread if the first one isn’t enough to stop its movement.
Volgin will emerge from the disabled Shagohad and use his own power to reanimate the mechanical monstrosity. Volgin will primarily chase Eva around on her bike while shooting at her. Watch Eva’s Life in this fight and distract Volgin if she starts to get weak. To get Volgin’s attention, Snake will either have to use one of the mounted guns positioned around the area or shoot him with his own weapon. Honestly, the mounted guns are a trap, because Volgin will ram them, dealing massive damage to Snake if he does not dismount the gun fast enough, so use a weapon like the M67 or Scorpion to distract the colonel.
Volgin is still protected by his frontal shield, so it is necessary to shoot him from behind. This can be done while he is chasing Eva or while he is focused on Snake. When Volgin is fighting Snake, players can very easily bait him into charging and exposing his back by getting close to the Shagohod. Running around in a spiral pattern that approaches the boss is the safest way to get close, because he will fire his machine guns at Snake quite frequently, so be careful. Once behind Volgin, quickly blast him with the M63 or weapon of your choice.
The SVD Sniper Rifle is the best weapon to use if you are quick with it and can get a head shot on Volgin. Unfortunately, it is not easy to get behind him and snipe him unless you have a good aim. It is also possible to get a Stamina kill with the Mosin or Mk22, but there’s no special prize and other weapons are easier to use.

Snake’s final challenge is The Boss herself. Luckily, she isn’t all she’s cracked up to be, though you will have to take this fight seriously. There’s a number of different ways to beat The Boss including sniping, stealth, and plain old run ‘n gun, but choosing what works best can be a problem. The Boss uses her signature “Patriot” machine gun and CQC. She’ll often fire at Snake, then rush towards him for a take-down. It is also implied that there is a timer on this fight, but I have never run out of time, so it is merely something to keep in mind. Here are a few tips for fighting The Boss:
-Use camo like Snow to blend in with the flowers.
-The trees in this area make for good cover and ambush spots.
-The Boss can deflect up to three shots in quick succession; a rapid fire gun can take down her defenses and leave her exposed fairly quickly.
-Snake can avoid a lot of The Boss’s attacks by rolling.
-Melee combat with The Boss is somewhat like a quick time event. Listen for Snake’s grunts or watch their movements. Press Circle when you hear Snake grunt or see The Boss make a move to counter her.
-The Boss will stagger after Snake “wins” a grappling contest. Knock her down with a few CQC combos then shoot her.
-The Boss is vulnerable to sniper rifles if Snake can manage to hide from her.
-It is easy to drain The Boss’s Stamina with Cigar-Gas Spray if you are good at positioning Snake.
-The Thermal Goggles and AP Sensor are great for spotting The Boss.
With all these points in mind, it is easy to see that there are many ways to approach this battle. If this is your first playthrough, I highly recommend going for the Stamina Kill to get the Snake Uniform. The Mosin, Mk22, and Cigar-Gas Spray are well suited to draining her Stamina.
Personally, I like to be aggressive in this fight. Approaching The Boss (it is best to roll or go from cover to cover) and forcing her into CQC is a reliable way to stun her, thus opening her up to a shot from the Mk22. However, you have to be good at timing the grappling event when she grabs Snake.
Another relatively easy way to battle The Boss is to spray her with AK, Scorpion, or M63 shots, then blast her with the M37 when she is down. Of course this method is not great if you are going for a Stamina win.
Hopefully you stored up some Life Medicine for this fight, because it can be difficult to get her movements down pat, especially when she rushes Snake to grapple with him. Ultimately, a bit of practice is all it takes to win this fight. If you manage to deplete her Stamina entirely she will drop the Snake Uniform as a reward.
There are many guides for Metal Gear Solid 3 and most of them are fairly good. A lot of this guide was written from memory and recent testing as I replayed the game. That said, I did check my work against a walkthrough and there are some useful resources that can expand on this guide, both of which are listed below.
Walkthrough:
https://gamefaqs.gamespot.com/ps2/928437-metal-gear-solid-3-subsistence/faqs/34009
General Info:
https://metalgear.fandom.com/wiki/Metal_Gear_Solid_3:_Subsistence
Thank you for using my Metal Gear Solid 3: Subsistence Boss Guide!
RetroMaggedon.com ©2023