

Metal Gear Solid 2: Sons of Liberty (PlayStation 2) Boss Guide
~by tankMage (October 2023)
About this Guide…
I played a lot of MGS2 back when it came out. Replaying it recently was an interesting challenge, because I did not remember much from when I first played it twenty years ago. As a result, I spent a lot of time trying to remember the tricks I used against the bosses. Out of curiosity, I checked out some of the guides for this game and realized I did not agree with a few of them, so I wrote this one. Much of the advice below pertains to Normal Mode, but it can be used in the harder difficulties as long as you are careful.
The following tips should be put into practice early on so you are prepared for the bosses. Some of them are generally useful for exploring the game, so please take a few minutes to go over them.
Build Raiden’s Grip Level to 2 or 3 Early On
Raiden can hang from railings and ledges for a short period of time. Pressing the L2 and R2 Buttons together will make him do a pull-up. Perform 100 pull-ups and Raiden’s Grip Level will increase allowing him to hang a lot longer. This is generally helpful and really pays off in a few of the boss fights. Grip Level 3 is good to have, but not quite necessary. It also takes a lot of work to achieve, so Grip Level 2 is a good place to stop.
Stock Up
Try to conserve ammo and Rations for boss fights. Enemy troops often carry items that Raiden can acquire by picking up and dropping incapacitated soldiers. Also, I strongly recommend saving Rations late in the game for the final boss fight, because his moveset can be very hard to deal with and a few extra Rations can make a huge difference.
Learn to Handle Weapons
Equipping, aiming, and unequipping weapons quickly is vital in some boss fights. In the case of the Stinger, this is especially true, because there are a few points in the game where you have to fire it quickly, then move out of harm’s way. Practice with unwieldy weapons a bit and you will find some of the last battles less difficult.
Be Extra Careful on Hard and Extreme Modes
This guide does not give specific advice for Hard and Extreme difficulties, because the bosses do not change their weaknesses or attack patterns. That said, they become more accurate and deadly. Consequently, you will need to be very careful when fighting on high difficulty modes. Take your time and concentrate on avoiding damage. It’s also wise to play through Normal before attempting Hard/Extreme unless you are very good at shooters or happen to be a Metal Gear veteran.
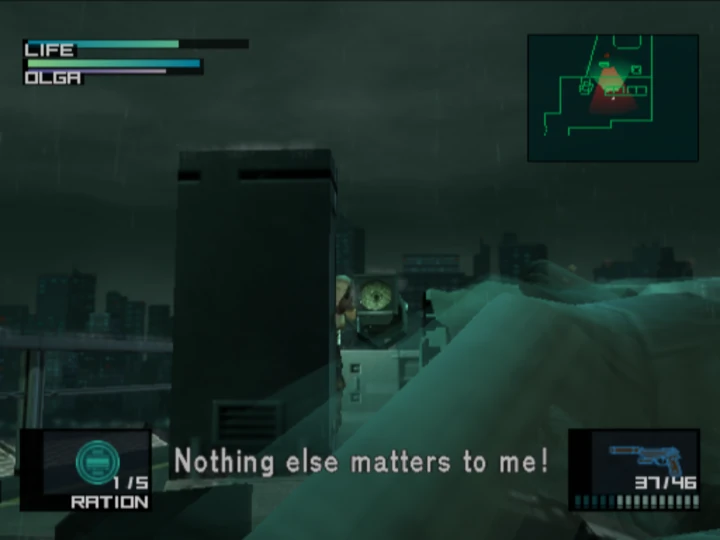
The first boss fight takes place on the Tanker Deck shortly after Snake spots Olga in a cutscene. Hide behind the boxes and shoot out the spotlight to make it harder for Olga to draw a bead on Snake. You can also shoot the tarp covering the shelf by the spotlight to give Olga less cover to hide behind, but I do not think this is worth the effort.
Wait for Olga to pop out from behind her cover and try to shoot her in the head with the M9. Head shots will deplete her Stamina more than body/limb shots. Olga shoots back, so take your shot then quickly crouch or roll away. Move from one side of the deck to the other to keep her guessing.
This battle really isn’t tough and you should manage to put Olga down for a nap after a few head shots. There’s spare ammo on the deck if you run low. Just watch out for her grenades, which can hurt Snake quite a bit. Luckily, she announces that she is about to toss one, so you can roll or run away from the explosive fairly quickly.
For some reason, the encounter with Gurlokovich troops in the hallway of the tanker is widely considered a boss fight, so I am going to cover it. This battle really is not difficult. Well placed head shots with one of the pistols (M9 or USP are both fine) will mow down the Gurlokovich almost as fast as they can stack up in the hall. Take cover behind the crates and watch out for grenades, which are the big threat in this battle. Roll backwards once or twice if you see a soldier toss a ‘nade or if you hear the distinctive thunk of one hitting the floor near snake.
Fortune is a deadly opponent that appears in the elevator room after you disarm the last bomb. Raiden cannot harm her with any of his weapons, so save your ammo. They key to “winning” this fight is to not get evaporated by Fortune’s rail gun. Blasts from this gun have a fairly wide damage radius and can destroy the crates after a few hits.
Raiden’s best bet is to hide behind the crates and move to a new one after she fires her weapon. Make sure your are hiding behind the crates and not on the sides where you can get caught in the blast radius. The crates can take about three hits before being completely destroyed, so pay attention to their condition since they will become crumbled as they are damaged. Flipping from cover to cover is the safest way to move, because Fortune can fire the rail gun rapidly when she feels like causing some havoc. Survive for about three minutes and Fortune will leave the room.
Note: Fortune’s Rail Gun is really deadly on Hard/Extreme Modes and you will have to be very careful to avoid getting blasted by it.
Fatman can be difficult to defeat or very easy, depending on your luck. He plants bombs on the helipad while roller blading around. Fatman can plant these bombs pretty quickly and will leave three for Raiden to disarm. Only 30 seconds are given to diffuse the bombs and their placement is random after the first batch, so equip Sensor A if you hear Fatman say anything about placing explosives. Use the Coolant to diffuse the bombs as you did before and be quick about hunting all three down, since it’s Game Over if they explode. Obviously, it’s a bad idea to shoot or use explosives on these bombs.
The best way to deal with Fatman is to hide under the containers in order to get him to go up to the southern or northern end of the helipad and search for Raiden. Be sure to hide only when the bombs have been disarmed for obvious reasons. Once Fatman is in “search mode” fire a few shots at his body with the SOCOM. This should knock him down and stun him. Once stunned, shoot him in the head.
If you are good at close quarters combat, you can run up to Fatman and combo him to stun him, then shoot him. Players that have a good aim can forego shooting/punching him and pop him in the head with the SOCOM as he is skating or when he stops. Watch out for Ftaman’s machine pistol when he is skating, because is will randomly spray Raiden will bullets. He may also ram into Raiden as he skates. Fatman’s field of vision turns red on the map when he is about to shoot.
Another useful trick is to set a few claymore mines between the containers. While they won’t hurt Fatman, they will stun him, allowing Raiden to get a head shot off. Do not use the M9 unless you are going for a non-lethal run.; it takes too long to kill this boss with it in my opinion.
The Harrier is really easy to defeat. Make sure you pick up the Stinger Missile Launcher Plisken tosses to you and line the box in the center of the Stinger’s view finder up with the Harrier to get the missiles to track. Scan around for the Harrier and blast it when it passes. Do not fire too rapidly at the Harrier, because it will be immune to damage for a few seconds after taking a hit. The radar also does a fairly good job at showing the Harrier’s position, so use it when possible.
Watch out for cannon strafes from this bird as well as missiles. It’s safe to take cover behind the tanks in the middle of the bridge, but they eventually get destroyed. The Harrier will sometimes expose itself by hovering in front of the bridge to fire off some missiles, blast it when it shows up. Watch out for its missile barrage when it gets low on health. You’ll have to go to the lower part of the bridge to avoid the barrage.
Ultimately, this battle is about positioning and patience. As long as you can find cover opposite of where the Harrier is facing, you will be able to avoid taking damage. Staying alert for when the plane passes by is a great way to wear it down with the Stinger before it blows up everything, including Raiden.
Vamp may seem like an extremely tough opponent, but he is a pushover if you know how to fight him. First off, do not bother using weapons that damage life, like the SOCOM and AK, instead use the M9 coupled with Raiden’s fists to beat this blood sucker into submission.
Vamp is quick and often immune to damage when surrounded by a red aura, which he often uses. He likes to jump onto the catwalks out of the player’s reach and throw knives. Sometimes he can throw a knife at Raiden’s shadow to pin him to the ground. None of this matters, believe it or not.
Start out with a quick head shot with the M9 when the fight begins, since Vamp tends to hover over the room’s central pool at first. He’ll likely dive into the water after getting hit. If you are quick with the Stinger you can hit the water with a missile while Vamp is swimming within view to really damage his Stamina.
After that, all you have to do to defeat Vamp is to use the Triangle Button (or whatever the “Action” button is linked to in your game) to flip over the rail in the north part of the room. Wait for Vamp to walk over to Raiden and for him to drop his red aura. Vamp will lunge towards Raiden, which is your chance to flip back onto the platform and perform a combo punch on him. A few combos and maybe another Stinger Missile blast while Vamp is swimming and you will win the battle almost effortlessly.
If you are still having difficulties, remember that timing is important when hanging off the ledge and waiting for Vamp. If you jump up too late or too soon Vamp will slash Raiden. Wait for Vamp to start lunging, because Raiden can’t be hurt during the flip animation. It also helps to have Grip Level 2 before going into this fight.
Note: If you are good with the Stinger (and maybe a little lucky) you can hit Vamp with it a few times while he is swimming to end the battle very quickly.
The second “battle” with Vamp is laughably easy. It will take place on the Oil Fence just after the sniping sequence with Emma. Vamp will grab the poor girl and start choking her, so you will not have a lot of time to act. Get prone with the PSG1 and shoot the wannabe Dracula in the noggin about four times to put him down.
Use some Pentazemin to steady Raiden’s aim. The biggest risk in this encounter is Raiden accidentally shooting Emma in the head, though this shouldn’t be an issue. The Thermal Googles can also make it easier to see Vamp’s head.
Tip: Try to master this battle to the point where you can win without Rations, even if it means continuing a few times. Doing so will make the last battle less daunting.
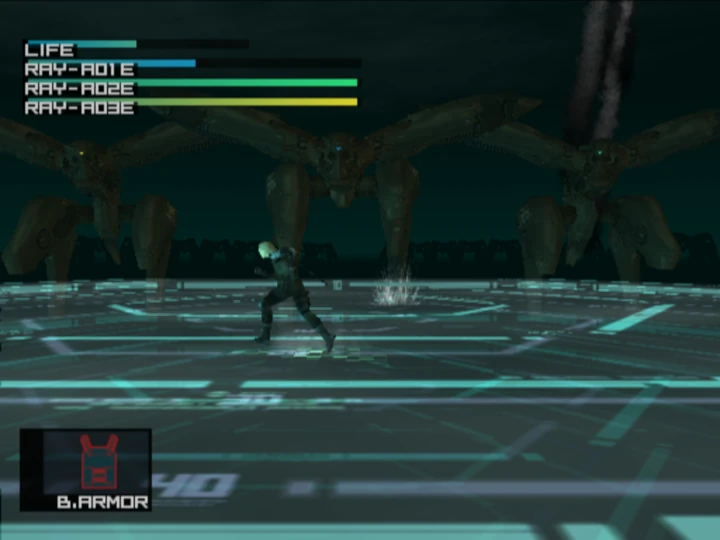
Beating the Metal Gear Rays requires a lot of patience and careful timing. At first the Rays will be lined up on the opposite side of the arena. They will mostly barrage Raiden with missiles fired from their backs. It takes about five seconds for the missiles to strike the ground and you will hear a beeping that intensifies as they get close. Running around in a wide circle is a good way to dodge the missiles and having the Body Armor equipped can help reduce damage if you happen to get hit. Raiden’s flip is also good for avoiding the missiles. Sometimes the central Ray will raise its arm and sweep with the machine gun. Flip backwards or to the sides to avoid the sweep.
Do not try to get close to the Rays and don’t bother using Chaff. Some guides recommend Chaff Grenades, but they are a waste of time. Stinger Missiles are the only thing that will damage the Rays. Focus on the central one (you can fire at the ones on the flanks if you REALLY want to) and aim for its head. Get used to quickly equipping, firing, then unequipping the Stinger; it’s a valuable skill in this battle.
Once it’s down to about 25% health, the Ray will jump into the center of the arena, so make sure you’re on the far side or you may get hurt or knocked flat. The missile volleys will still come and Raiden will have to contend with some new moves. If you get close to Ray, it may use a laser or stomp Raiden, so keep back. Ray will also splay its legs and fire missiles from its knees, flip out of the way when this happens. It will sometimes perform its machine gun sweep, which further complicates this battle.
Target the Ray in the arena with the Stinger, but fire at one of its knees first. This will cause the Ray to stagger. Quickly fire at its head when it is staggered for extra damage. You may even be able to get several hits off like this, but watch out for missile barrages from the other Rays. Pay attention to your surroundings as well, because the other Rays may attack you if you get too close to them. Its also not smart to fire on the Ray if you see blue steam coming from its mouth, because the Stinger missile will lose its lock.
Defeat the Ray and another one will take its place, so stay away from the center and keep moving even if you see your foe backing away. The battle stays the same as you beat Metal Gear Rays and it’s really about endurance and patience. If you start running low on ammo you will find boxes scattered around the arena, just take care when grabbing them. Rations will also appear on occasion, but they often show up right by a Ray, so be really cautious if you go to grab one. Defeat about six Rays and the battle will end.
Note: This fight is really brutal on higher difficulties thanks to the amount of damage Raiden can take and the frequency of attacks coming from the Rays.
Tips
-Equip the Body Armor.
-Grab the Ration in the corner of the roof.
-Flip or run around if Raiden catches fire.
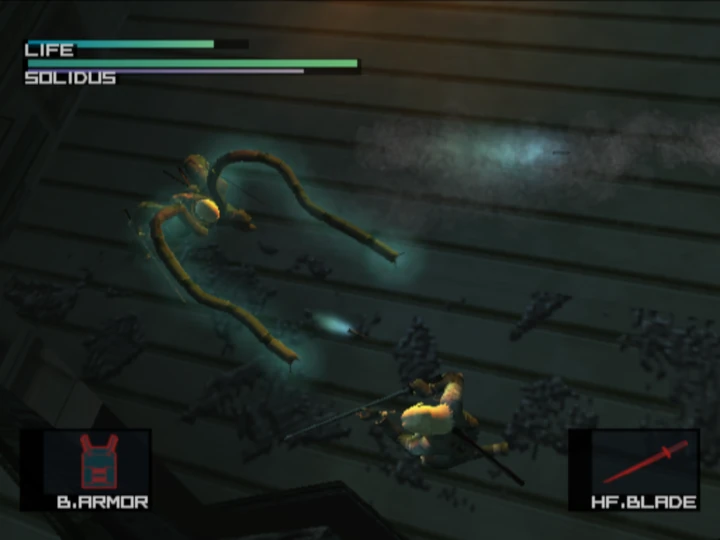
Think of Solidus as a slightly smarter, more dangerous version of Vamp. Well, maybe that’s not a good example, since Solidus has a very different moveset. That said, he still has trouble dealing with Raiden if you abuse the ledge hang trick. During his first phase, Solidus will perform a variety of sword slashes, try to grab Raiden with his tentacle, and fire rockets from his appendages. Solidus will also blast across the roof leaving fire in his wake on occasion, try to stay out of the fire. Finally, Solidus will sometimes grab a wall, then leap towards Raiden and try to gab him. Tap Triangle and mash all the buttons to shake free if you get caught.
For the most part, you do not have to worry about Solidus’ attacks, since you can run to the edge of the roof, hang off, then jump back up as Solidus tries to slash Raiden. Solidus will be open to a sword combo if you time it right. The only real threats this boss presents if you use the ledge hang trick are his counter attack and rockets. You can easily dodge the rockets if you jump up from the ledge.
Do not get greedy when attacking. Solidus can catch you with a kick after he falls, so back away and return to the ledge. Keep hanging from the ledge, flipping back up, and attacking Solidus.
Solidus gets serious once his health is down to about 30%. He’ll shed his tentacles and start blazing around the roof, performing new sword moves, particularly a thrust. The ledge trick still works, but this phase is still tough. Solidus can hit Raiden with a thrust when he is hanging, so you have to be prepared to climb back up in a split second. He also blocks more. Luckily, Solidus is low on health and you should have plenty of health and Rations from the first phase. Try to bait him into using his slow downward slash. This can be done by climbing up from the ledge, moving then dropping off again. You can alternatively just try to attack him aggressively to finish him off if you are confident in your life reserves.
Another way to beat Solidus is to circle him and swipe with the sword or use the Circle combo to damage his Stamina. This technique works great in phase one, but Solidus’ rapid movements in the last part of the fight make it difficult to pull off. Defeat Solidus and you get to enjoy a long winded Kojima ending!
Here is a good guide that I checked my findings against:
https://gamefaqs.gamespot.com/ps2/913941-metal-gear-solid-2-sons-of-liberty/faqs/14672
Thanks for using our Metal Gear Solid 2: Sons of Liberty (PS2) Boss Guide!
RetroMaggedon.com ©2023